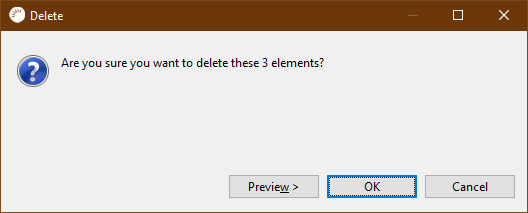
Add attributes - edit - delete
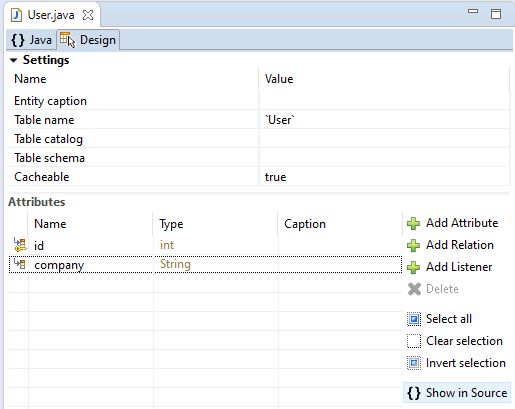
Add attributes
-
Click Add Attribute in the entity editor, enter the name at Name, e.g. company.
-
At Type select the data type, e.g. String.
-
Click Save.
|
Important Properties
| Icon | Function |
|---|---|
|
Change to Basic - This is the default setting of all attributes. Therefore the @Basic annotation does not need to be set explicitly. |
|
Change to Transient - Attributes marked with @Transient are not persisted. |
|
Change to Version - Marks the attribute as @Version. Version attributes are used for the Optimistic Locking from JPA used |
|
Change to Id - Attributes marked with @Id are saved as primary keys. |


-
Fetch type - The fetch type defines whether the attribute’s data is loaded from the database immediately (eager) or only when needed (lazy). This setting is normally only significant for relations. Hibernate ignores this setting for normal attributes (@Basic) unless, Bytecode Enhancement is enabled. Note that reloading no longer works when the entity objects are detached!
-
Column name - The column name in the database table.
-
Table name - The name of the database table that contains this column. If you specify an alternative table here, it must be assigned to the entity with a @SecondaryTable* - annotation can be specified
-
Insertable - If you set this value to false, the persistence provider (Hibernate) excludes this attribute when generating SQL insert statements.
-
Updateable - If false, the Persistence Provider ignores this attribute during SQL update statements.
-
Unique - If true, a unique constraint is created for this attribute when the database tables are created.
-
Nullable - If this value is set to false, this attribute must not be null when saving or updating the entity. When creating the tables, a NOT NULL constraint is added for this column.
-
Length - The length of the column. This value affects only string values
-
Precision - Concerns only fixed precision numbers. Sets the number of digits for this table column.
-
Scale - Applies only to numbers with fixed precision. Defines the number of decimal places.
-
Column definition - Column definition is exactly the part of the SQL statement generated when creating the tables that describes this column. The Column definition can be used, for example, to use a special (database) data type for this attribute.
-
Type mapping - Predefined annotations to match the mapping between Java data types and data types in the database. For example, the Java data type java.util.Date in an H2 database can then be e.g. date, timestamp or time.
Fetch Type, Insertable, Updatable and @Transient have no equivalent in the database. These settings are relevant when inserting, updating and fetching data from the database.
All other settings are settings that affect the structure of the database. Without Export or Update they have no effect.